Candle making at home can be a delightful and rewarding hobby. Not only does it allow you to express your creativity, but it also fills your space with lovely scents and warm light. This guide will take you through the initial steps of getting started with a candle making kit, covering the basics, workspace preparation, and some advanced techniques.
Understanding the basics of candle making
Before diving into the hands-on aspects of candle making kit, it’s essential to understand what it actually involves. At its core, candle making revolves around the process of melting wax, pouring it into a container, and allowing it to solidify with a wick embedded in it. There are various types of waxes available, which we will discuss later on. But first, let’s delve into the science behind it.
The science behind candle making
Candles produce light through the combustion of wick and wax. When you light a candle, the heat from the flame melts the wax near the wick. As the wax liquefies, it is drawn up the wick by capillary action. Once it reaches the flame, the heat vaporises the liquid wax, allowing it to burn and produce light. Understanding this process can help you troubleshoot any issues you may encounter while making your candles. Additionally, the quality of the wax and wick plays a significant role in how efficiently a candle burns. For instance, a wick that is too small may not draw enough wax, leading to a weak flame, while a wick that is too large can cause excessive soot and an uneven burn. Thus, selecting the right wick for your chosen wax is crucial for achieving optimal results.
Essential tools in your candle making kit
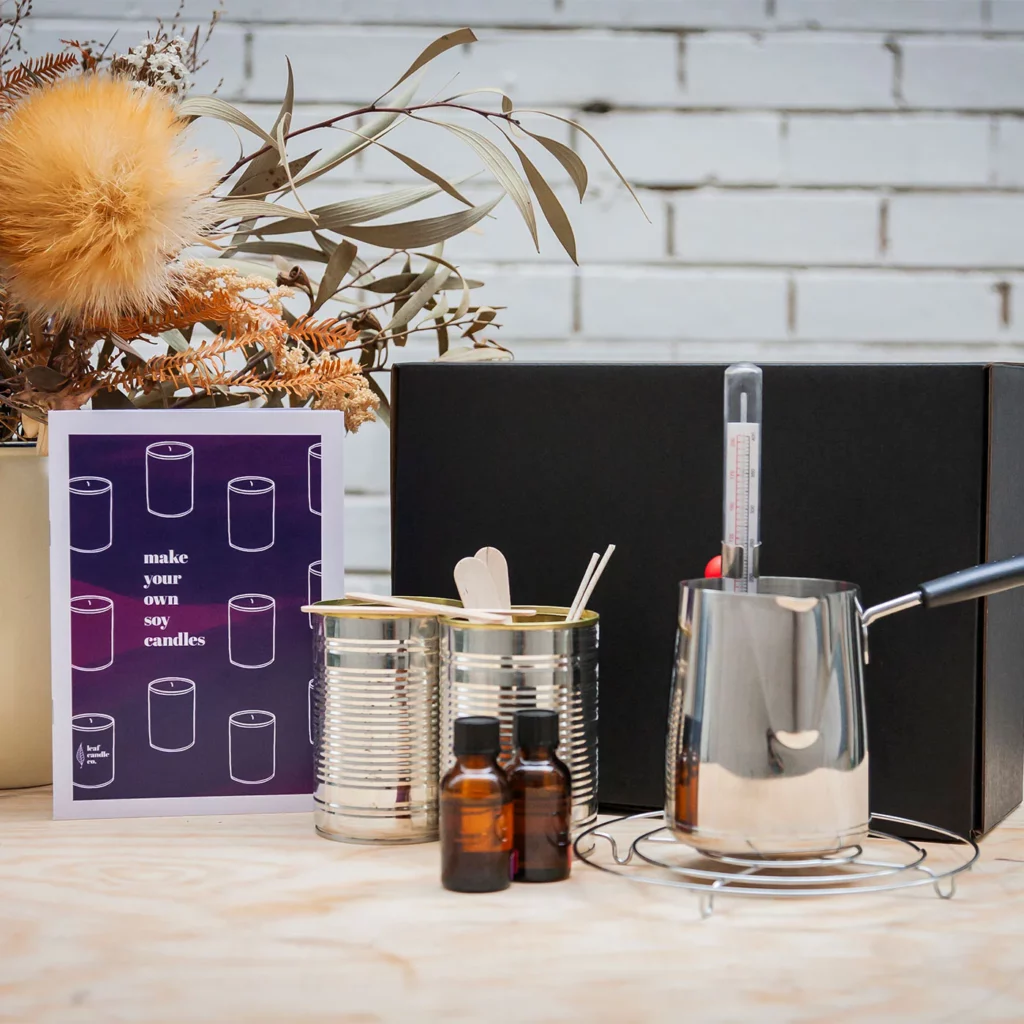
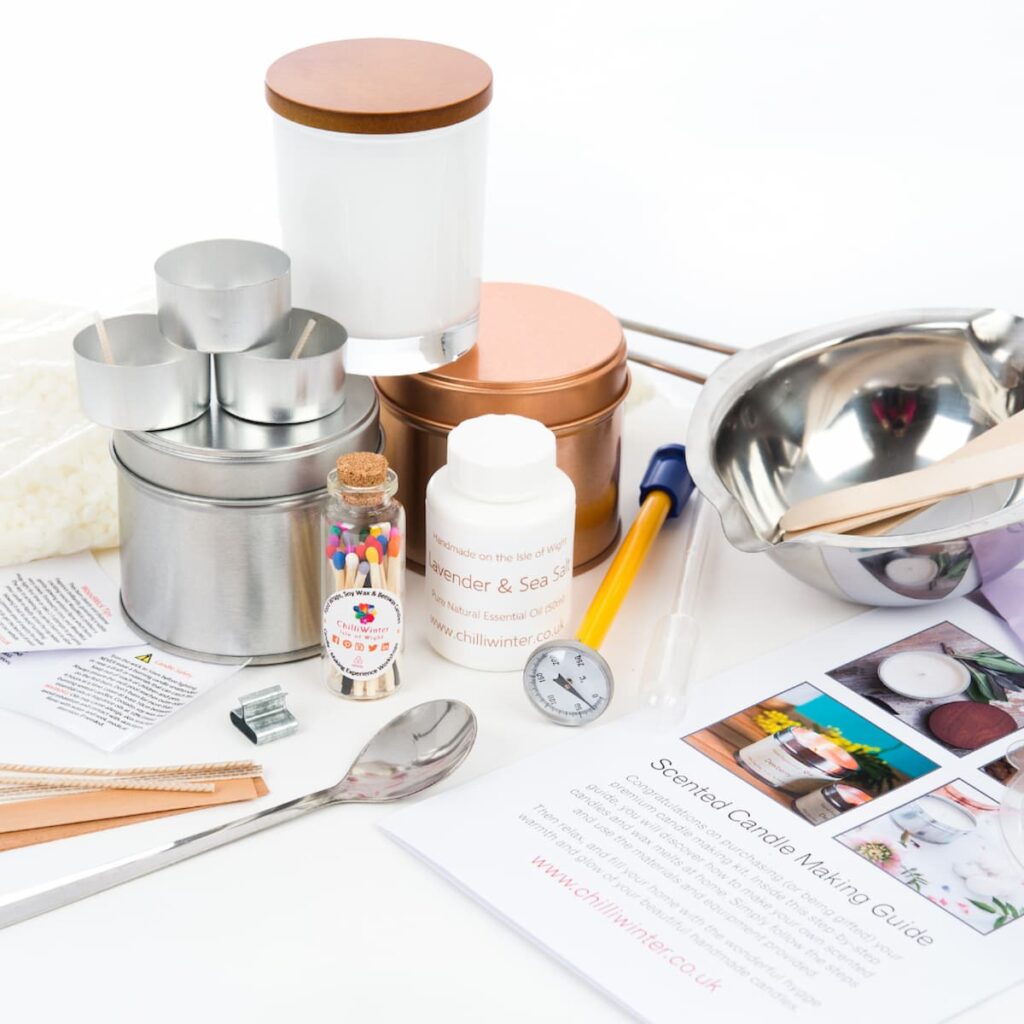
A good candle making kit contains several essential tools to help you create the perfect candle. Typically, you would find:
- Melting pot or double boiler
- Thermometer to monitor wax temperature
- Candle wick and wick holders
- Wax, which may include paraffin, soy, or beeswax
- Fragrance oils for adding scent
- Dye chips or liquid dye for colour
- Moulds or containers for your candles
Gathering these tools will be crucial as you embark on your candle making journey. Beyond the basic tools, you might consider investing in a scale for precise measurements, especially if you are experimenting with different wax blends or scents. Accurate measurements can significantly affect the final product, ensuring that your candles burn evenly and release the desired fragrance. Furthermore, having a dedicated workspace is beneficial; a clean, well-ventilated area will not only keep your tools organised but also ensure safety while working with hot wax and potentially flammable materials. As you become more experienced, you might also want to explore advanced techniques such as layering colours or creating intricate designs within your candles, which can add a personal touch and elevate your creations to a new level.
Preparing your workspace for candle making
Before you get started melting wax and pouring it into containers, it’s vital to prepare your workspace. A well-organised and safe environment enables you to work more efficiently and creatively.
Safety measures to consider
Candle making involves handling hot wax and potentially hazardous materials. Always wear protective gloves and eyewear, and keep a fire extinguisher nearby, just in case. Make sure to work in a well-ventilated area, as some fragrance oils can emit strong fumes when heated.
Organising your candle making materials
To avoid confusion during the candle making process, it’s wise to organise your materials. Label your wax, fragrances, and dyes clearly, and arrange your tools in a manner that makes sense to you. A tidy workspace not only helps you think clearly but also ensures that you have everything at hand when you need it.

Step-by-step guide to using your candle making kit
Now that your workspace is set up, it’s time to make your first candle! Follow these steps to create a stunning candle that you’ll be proud of.
Melting the wax correctly
Begin by measuring the amount of wax you’ll need based on the size of your container. Use a double boiler to melt the wax safely. Monitor the temperature carefully, as overheating can degrade the wax quality. Ideally, you want to melt the wax to around 80°C before pouring. Click here to learn about create unique candles with a complete candle making set.
Adding fragrance and colour to your candles
Once your wax is melted, you can add fragrance oils. Generally, a good rule of thumb is to use 10% fragrance oil to the amount of wax you’re using. Stir it well to ensure that it’s evenly distributed. If you’d like a touch of colour, add your dye chips or liquid dye, mixing thoroughly until you reach your desired hue.
Setting your candles to cool
After mixing in your fragrance and colour, it’s time to pour the wax into your chosen container. Be sure to secure the wick in place before pouring. Allow the candle to cool and harden at room temperature for several hours. Avoid placing it in the fridge to speed up the process, as this can lead to cracking.
Troubleshooting common candle making problems
Every newcomer to candle making faces challenges, but don’t worry; they can be easily resolved with some knowledge! Familiarising yourself with potential problems will enhance your candle-making experience.
Dealing with uneven candles
If you notice your candles are uneven or have sinkholes, it may suggest that the wax cooled too rapidly or wasn’t poured correctly. To fix this, you can reheat the surface of your candle with a heat gun or hairdryer and smooth it out.
Solving issues with wick placement
Correct wick placement is key for a clean and even burn. If your candle burns too quickly or too slowly, you may need to adjust the wick size or reposition it. Ideally, your wick should sit at the centre of the candle and be trimmed to about 6mm for optimal burning.
Advanced techniques for candle making at home
Once you feel comfortable with the basic techniques, consider exploring advanced methods to elevate your candle making skills. The possibilities are endless!
Creating layered candles
Layered candles are a beautiful way to incorporate multiple colours and scents into one candle. Simply allow each layer to cool slightly before adding the next to create distinct separates. Much like painting, this technique allows your creativity to shine.

Making scented candles
Scented candles are incredibly popular and can fill your home with delightful aromas. Experiment with different fragrance combinations to discover unique scents. Keep in mind that fragrance strength will diminish as the candle burns, so finding the perfect ratio is key.
By following this beginner’s guide and perfecting your candle making techniques, you’re well on your way to creating beautiful candles at home. Enjoy the journey, and happy candle making!
