Understanding the basics of candle making
Candle making is a delightful and creative hobby that gives you the opportunity to express your individuality while crafting beautiful pieces for your home. Whether you’re looking to create ambient lighting or give a thoughtful gift, understanding the basics of candle making can set you on the right path.
At its core, candle making combines both art and science. You’ll be melting wax, managing temperatures, and carefully adding colour and fragrance. The chemistry behind the materials you choose will help you achieve the best possible results.
The art and science behind candle making
The art of candle making resides in the choice of wax, wick, and fragrance. Each of these elements plays a crucial role in the final product. For instance, natural wax options like soy or beeswax lend different textures and burn qualities than paraffin wax. Likewise, the wick must complement the type of wax you are using to ensure an even burn.
On the science side, temperature control is vital. Melting the wax at the right temperature will prevent it from overheating, ensuring that your candles burn well and last longer. This intricate balance between art and science is what makes candle making such an enjoyable craft.
Essential tools in a candle making set
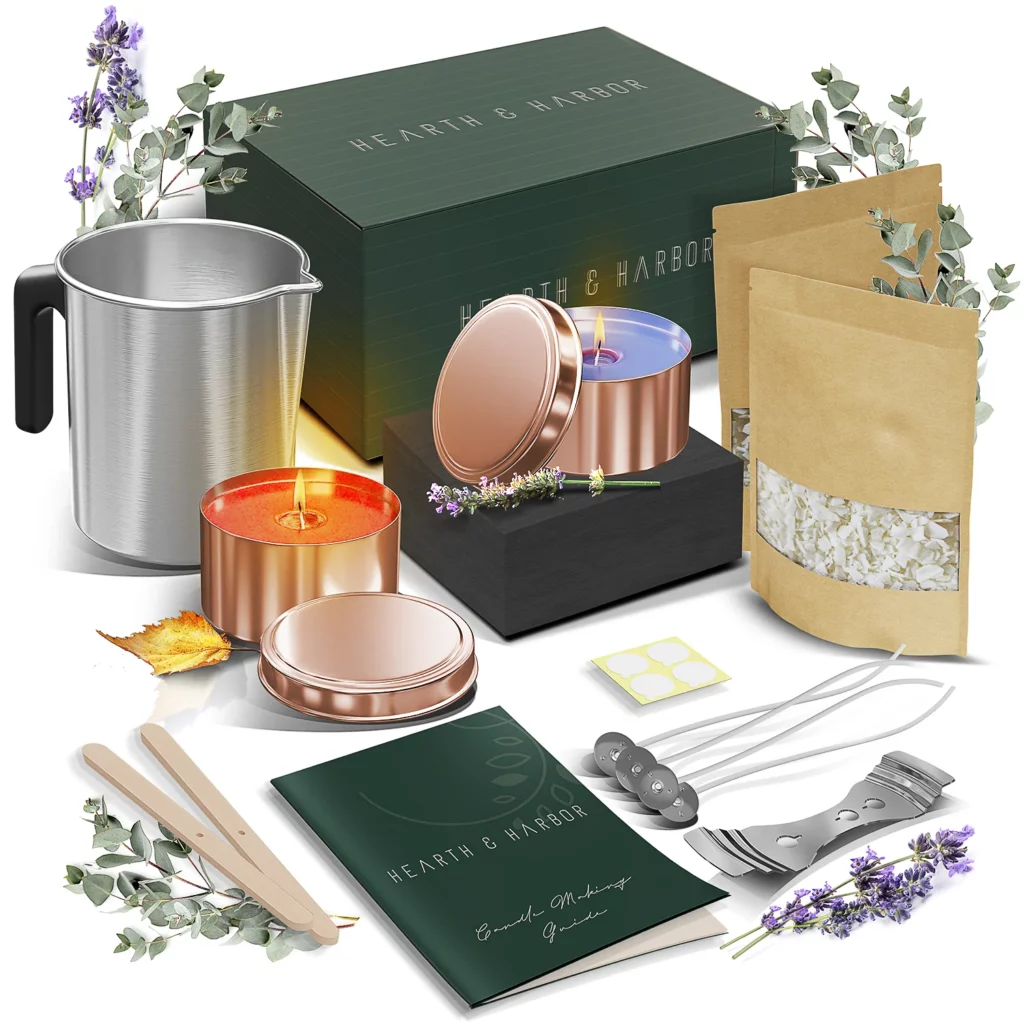
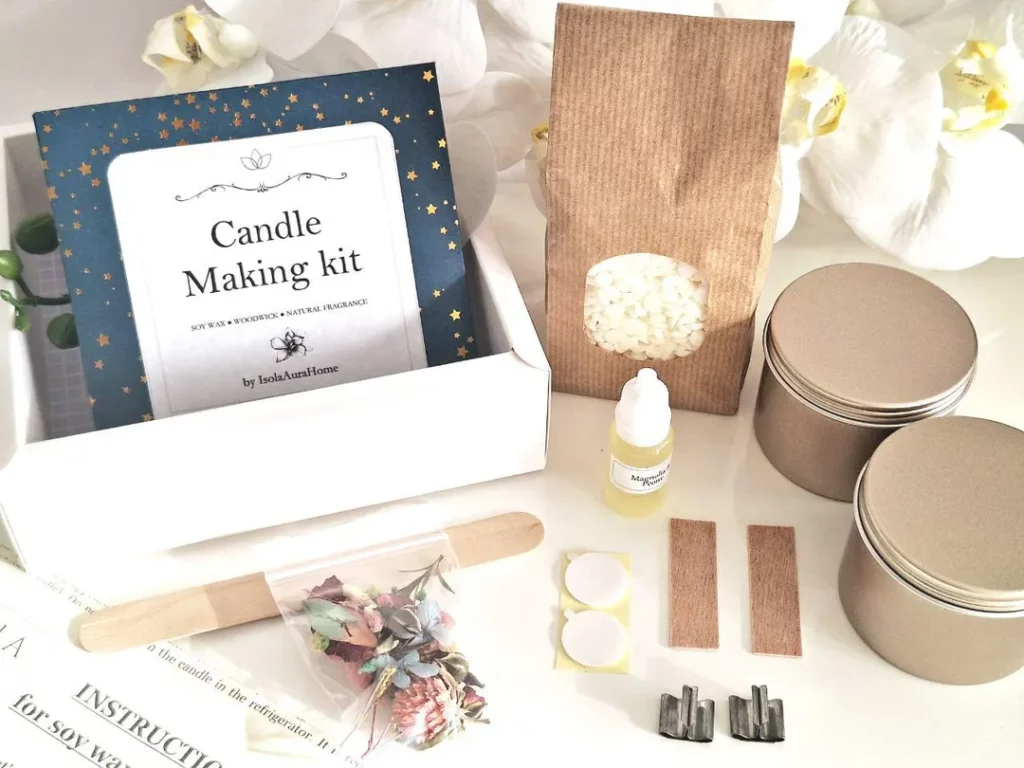
To get started, you’ll need some essential tools. A complete candle making set generally includes a melting pot, thermometer, moulds, and pouring pot. Additionally, having wicks, wax, and fragrance oils on hand is crucial for crafting your candles.
Other handy tools might include a stirring stick for mixing in colour and fragrance, as well as safety gear such as gloves and goggles. As you explore deeper into candle making, you may discover additional tools that enhance your experience, but starting with the essentials will set you up for success.
Choosing your candle making set
When it comes to choosing a candle making set, the options can feel overwhelming. However, focusing on a few key factors can help narrow down your choices and find the right kit for your needs.
Factors to consider when buying a candle making set
First of all, consider your skill level. If you’re just starting out, a beginner’s set with clear instructions will serve you well. Conversely, if you’re more experienced, you might look for more specialised kits that offer unique materials or advanced techniques.
Additionally, evaluate the types of wax available in the set. Natural waxes like soy and beeswax are popular for their eco-friendliness and better burn characteristics. Lastly, check reviews or ask fellow crafters for recommendations to ensure you’re getting a quality product.
Understanding different types of candle making sets
Candle making sets come in various types, each tailored to different interests and skill levels. Some sets focus specifically on container candles, while others might cater to those interested in pillar candles or tealights.
Another point of difference is the inclusion of unique ingredients. For instance, some kits come with essential oils or natural dyes, making them suitable for those who wish to create scented or coloured candles. Selecting a set that aligns with your goals will enhance your experience and satisfaction.
Steps to create your unique candles
Now that you have your set, it’s time to roll up your sleeves and create! Here’s a step-by-step guide to crafting your unique candles.
Preparing your workspace for candle making
Before you begin, prepare your workspace. Clear a flat surface and lay down old newspapers or a protective covering to catch any spills. Make sure your tools are within reach and everything is clean to ensure a smooth candle making process.

Also, consider the ventilation of your workspace. Proper airflow can help disperse fumes from the melting wax, ensuring a safer crafting experience. Take your time setting up, as a well-prepared space can make all the difference.
The process of melting and pouring wax
The next step is melting the wax. Use your melting pot and follow the specific instructions for your chosen wax type regarding temperatures. It’s essential to use a thermometer to avoid overheating.
Once your wax reaches the desired temperature, carefully pour it into your chosen mould. Be sure to leave space for the wick and allow the wax to set for a brief period before adding your wick for optimal adherence. Click here to learn about beginner’s guide to using a candle making kit at home.
Adding fragrance and colour to your candles
If you want to infuse your candles with scent, now is the time to add fragrance oils. Start with a small quantity, taking note of how much you use for future reference. Stir gently to ensure the fragrance is well-distributed throughout the wax.
For a pop of colour, consider using candle dye. Just like fragrance, start with a small amount, as it’s easier to add more than to take some out. Mixing your preferred shades can yield a unique colour that reflects your personality.
Tips for successful candle making
As with any craft, honing your skills takes practice. There are several tips that can help you on your candle-making journey.
Common mistakes to avoid in candle making
One of the most common mistakes is selecting the wrong wick size. A wick that’s too small may not produce enough heat to melt the wax, resulting in a poor burn. Conversely, a wick that’s too large can create excessive soot or uneven burns.
Another pitfall is not allowing the wax to cool properly before adding the wick. Rushing this step can lead to poor adherence and result in your wick lifting out during the cooling process.
How to achieve the perfect candle burn
To achieve the perfect burn, trim your wick to about 5mm before lighting. A properly trimmed wick reduces soot and creates an even flame. Additionally, avoid burning your candle for more than 4 hours at a time, allowing the wax to cool down in between to maintain its integrity.
Regular testing and adjustments will help you master the art of candle making, leading to perfectly crafted candles every time.
Maintaining your candle making set
Once you’ve enjoyed creating your candles, it’s important to maintain your candle making set for longevity and continued success.
Cleaning and storing your candle making tools
After each project, clean your tools thoroughly. Wax residue can affect future candle quality, so ensure that your melting pot and any other tools are spotless. Warm water and mild soap work well for cleaning most tools.

For storage, keep your materials in a cool, dry place away from direct sunlight to prevent degradation. Organise your tools to ensure easy access for your next session, making the entire process enjoyable from start to finish.
Replacing and upgrading your candle making set
As you gain experience, you might find that upgrading some components of your candle making set enhances your crafting. Consider investing in higher-quality wax or experimenting with new mould types to expand your creations.
Continuously explore new techniques and materials, as candle making can offer endless possibilities for creativity. Embrace the process and let your unique style shine through in each candle you make!
